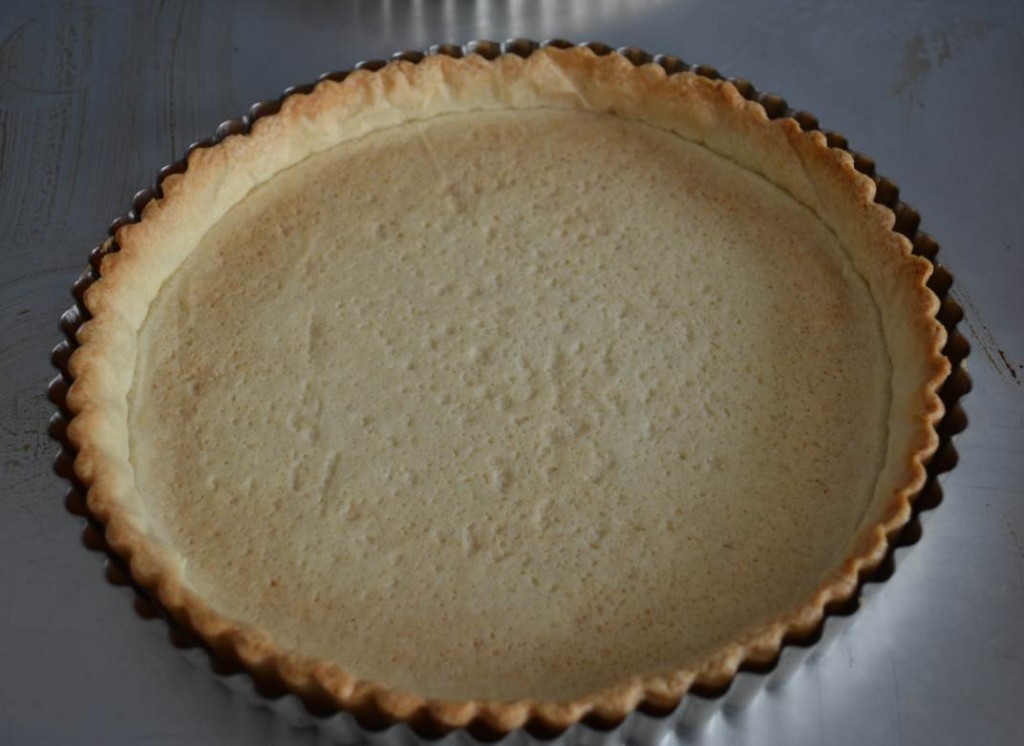
Once you find a good crust recipe, I think you should stick with it. There are hundreds of tart crust recipes out there—some with nuts, cornmeal, or coconut. While occasionally you may want to use a different crust, just to mix things up a bit, it is comforting to have a tried and true, absolutely reliable crust recipe that works for any sweet filling you can imagine. This crust is easy to make, easy to handle, and it holds its shape beautifully. Tart crust should be rich, buttery, sturdy, and crisp—like a cookie. Unlike pies, which are served from the pans they are baked in, a tart is unmolded and so must be able to stand on its own without the sides collapsing. This tart crust recipe meets all of the requirements. I recommend making the dough several times—even once a week for a while. It will seem slightly daunting at first, but after the third or fourth time it will start to feel easy, familiar, like an old friend. And there is nothing wrong with having a freezer full of tart dough, at the ready, whenever the call for a freshly baked tart arises! For me, the call comes frequently.
Leftover dough can be wrapped in plastic and refrigerated for a couple of days. The dough can also be frozen as a disk, or frozen once rolled and fitted into a tart pan. The dough freezes well for a month or more, depending on how often you open and close your freezer door.
To roll out dough that has been refrigerated for more than 30 minutes, leave the dough on the counter to bring it to cool room temperature. If the dough has been refrigerated for a long time this may take up to an hour. If, when you begin to roll out the dough, it starts to crack terribly, you can cut the dough into pieces, gently knead it into a cohesive disk and roll out again. Do not re-roll pie dough in this way—it will become tough and will lose its flakiness.
To thaw frozen dough that is in a disk, place it into the refrigerator and let thaw overnight.
To bake a frozen tart shell that is rolled out and fitted into its pan–do not thaw. Remove the plastic and proceed with the instructions for pre-baking (also called blind baking).
Most importantly, always fully pre-bake you crust—even if the tart goes back in the oven after it is filled. An under baked crust is doughy and flavorless. A fully baked, golden brown crust is heavenly.
Ingredients
- (makes enough for two 9” tarts)
- Adapted from The Simple Art of Perfect Baking by Flo Braker
- 12½ oz (2 ½ cups) flour
- ½ teaspoon salt
- 3½ oz (½ cup) sugar
- 8oz (2 sticks) butter (cool, but malleable)
- 1 large egg
- 1 teaspoon vanilla extract (or vanilla paste)
- 1 teaspoon lemon zest
Instructions
Place all the dry ingredients into the bowl of a stand mixer or food processor and pulse to mix.
In a small bowl, mix the egg, vanilla extract and the lemon zest until combined.
Cut the butter into chunks and mix with the dry ingredients. Pulse until the mixture resembles uneven breadcrumbs.
With the machine running, pour in the egg mixture. Mix just until it comes together into clumps—it should not be a cohesive mass yet.
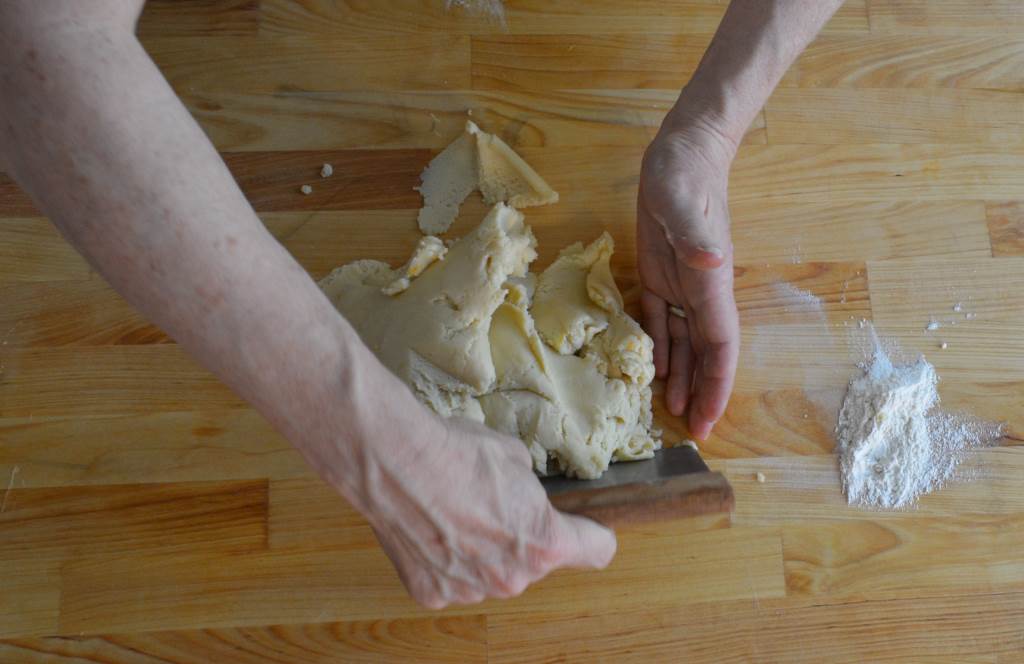
Turn the dough out on to your work surface. Then, with the heel of your hand, smear a small amount of the dough on your counter by pushing it away from you. Repeat with small amounts of the remaining dough. When you’ve worked all the dough in this manner, give is a couple more strokes to bring it together. The French term for this method is fraisage.
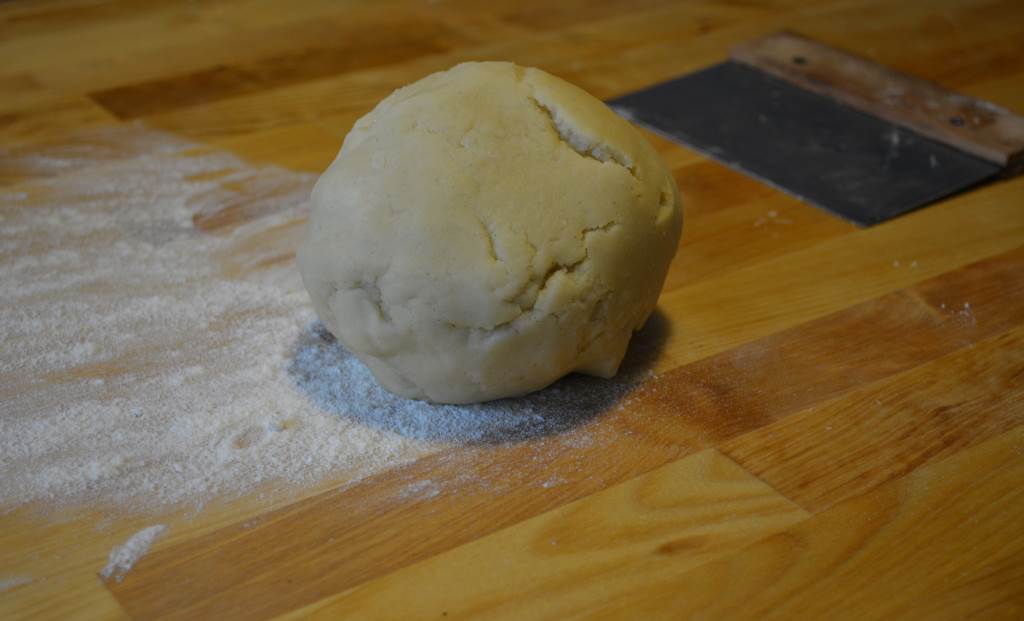
Mound the dough back together, scraping any bits off the counter, and divide into two 12oz portions. Press each into a flat disk. Wrap in waxed paper and refrigerate at least 20 minutes. The dough can then be either rolled or pressed into the tart pan. I recommend rolling for large tarts, and pressing for mini tartlets.
Lightly dust your work surface with flour. Roll the dough out into an 11 inch round—keeping the dough moving as you roll to make sure it remains round and doesn’t stick. If your dough has become very cold and is hard to roll out, you can cut up the dough and press it together again into a smooth workable disk—or just leave it on the counter until it is malleable. Don’t let it get too warm.
Once you have a round piece of dough that is approximately 1/8 inch thick, roll the dough onto your rolling pin and gently drape it over your tart pan being careful not to touch the rolling pin to the pan, as that may result in your cutting the dough on the edge of the pan. Lift the edges of the dough and tuck them tightly into the pan’s crevices, making sure there is no space between the dough and the tart pan sides. If there is space between the dough and the pan, the dough will shrink as it bakes and the crust will not have nice straight sides.
Wrap the pastry lined tart pan in wax paper or plastic wrap and put into the fridge to chill for 30 minutes (or up to 2 days), or freeze for up to one month.
To prebake the tart shell (also called blind baking): Preheat the oven to 350 degrees F. Line the tart shell with foil or parchment paper and fill completely with pie weights (the best weights are rice or lentils). Place in the oven and bake about 20 minutes until the exposed crust turns light golden brown. Peek under the parchment (or foil) and see if the bottom of the crust looks dry. If the bottom is dry, gently remove the parchment and weights. Put the tart shell back into the oven for 10 minutes or so until the crust is golden brown. Remove from the oven and cool to room temperature.
http://madeleineeffect.com/2014/10/sweet-tart-dough/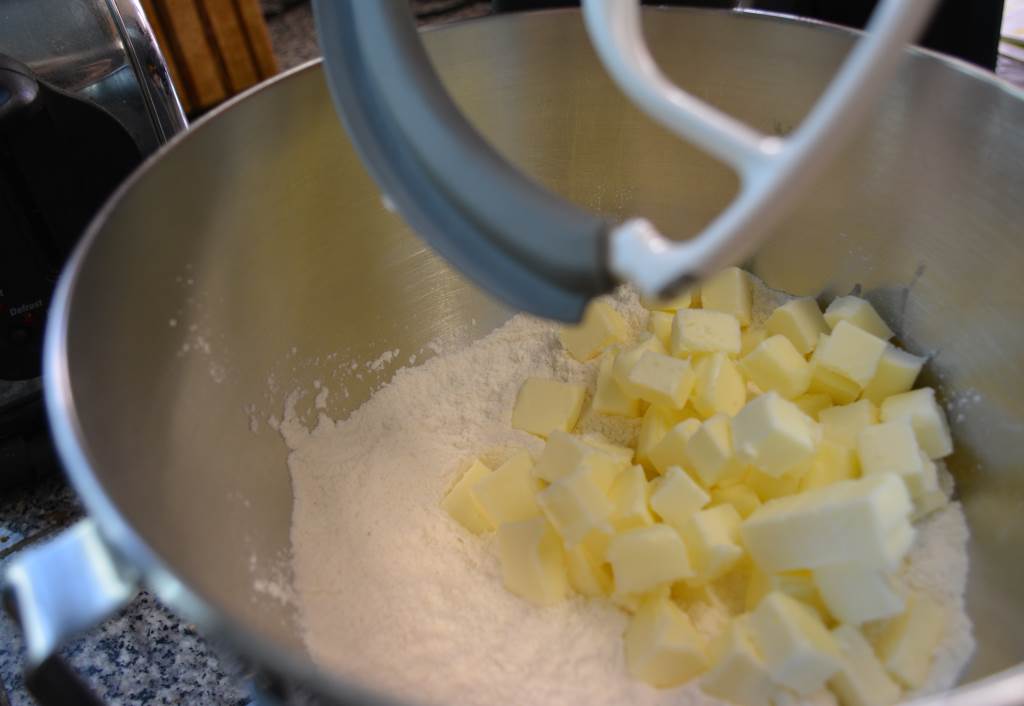 Add the butter to the dry ingredients in the bowl of an electric mixer.
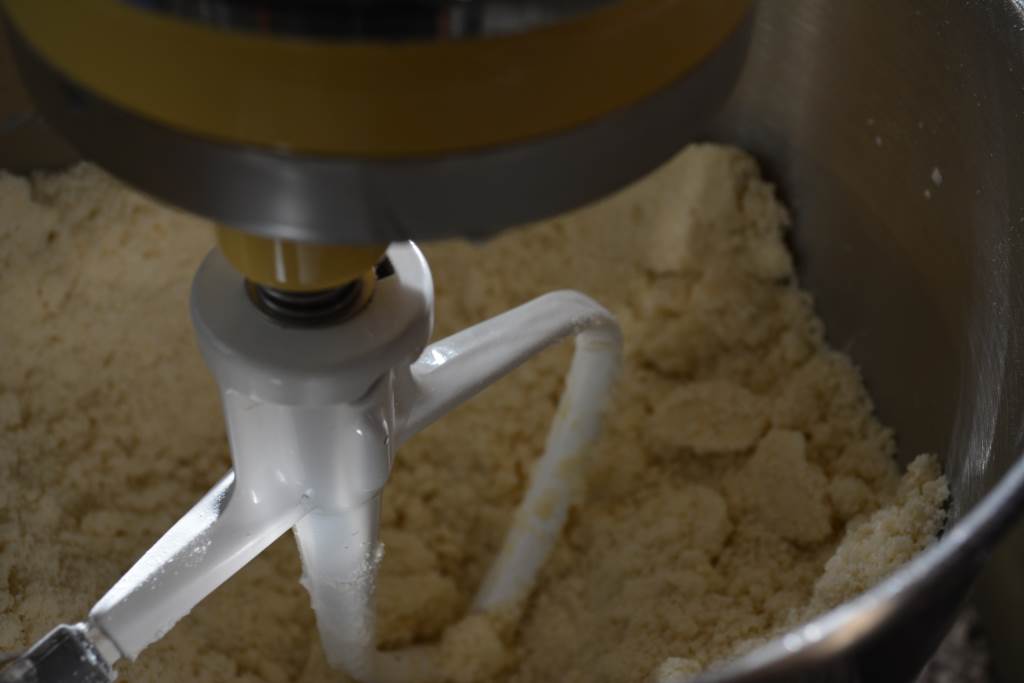 Pulse until you have a mixture that resembles uneven breadcrumbs.
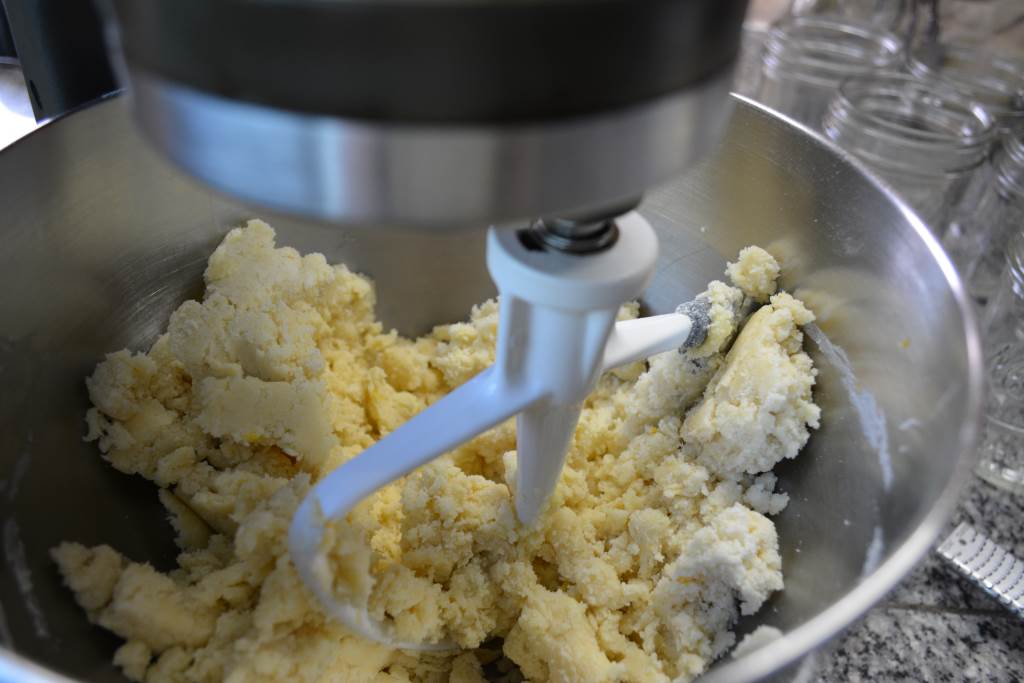 Mix the egg , vanilla and lemon zest together. While the mixer is on low speed add the egg mixture slowly until it just comes together in large clumps
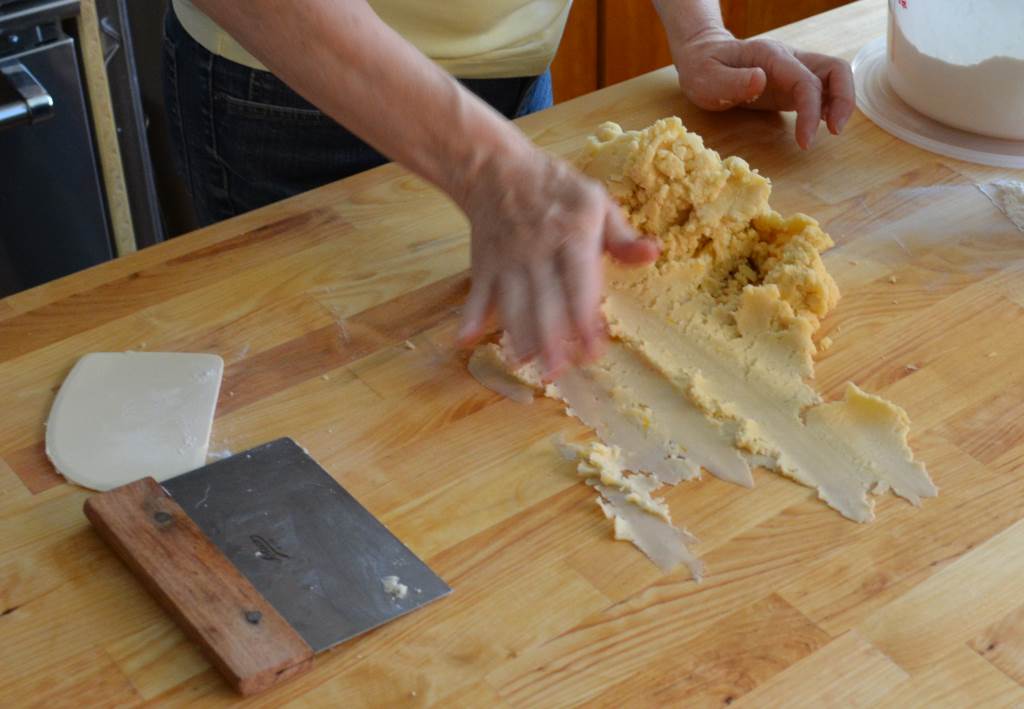 Turn the dough onto your work surface and push small pieces of the dough forward with the heal of your hand.. This is the best way to fully mix the ingredients into a smooth, uniform dough without developing too much gluten–good for bread, not for pastry.
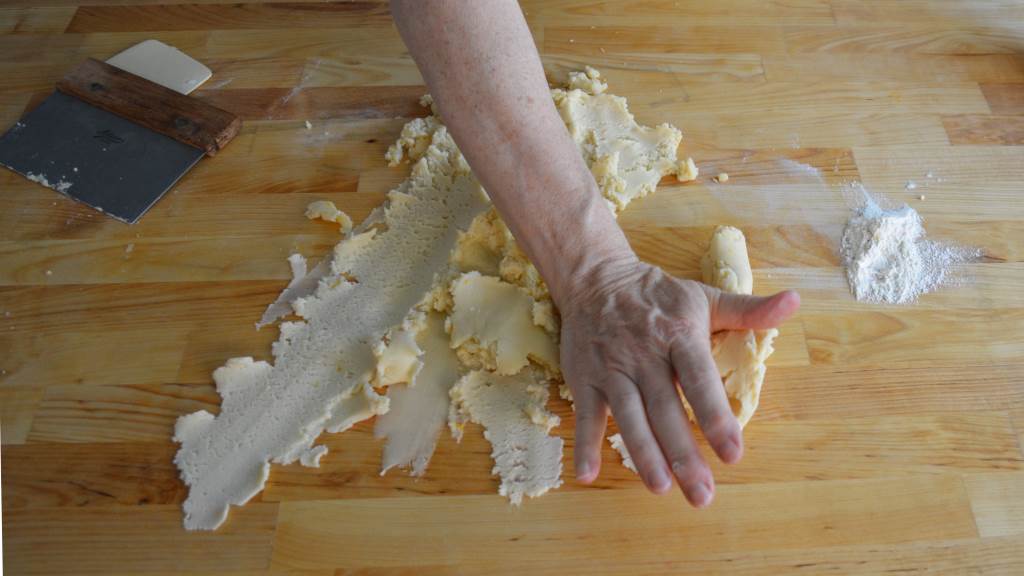 Keep going until the dough is smooth.
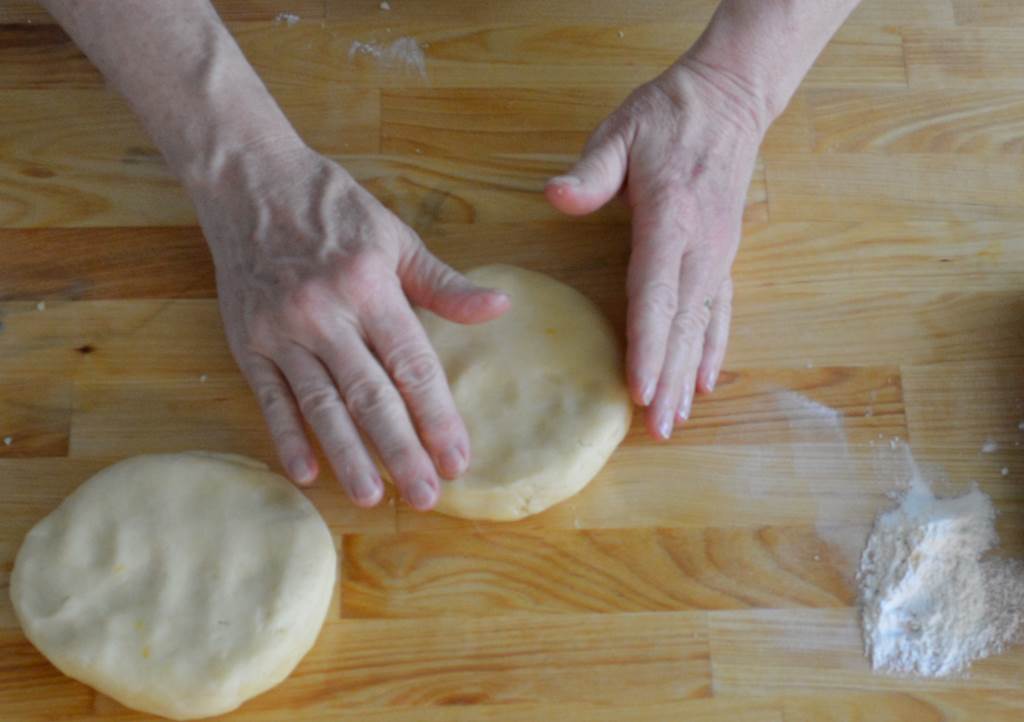 Divide into two equal balls, and form each one into a flat disk. This will make rolling the dough into a round shape easier when the time comes. Wrap each disk in wax paper or plastic wrap and chill in the refrigerator for 30 minutes. This step is very important. Chilling the dough makes it possible to roll the dough out without sticking. It also allows the gluten in the dough to relax, and for the starch in the flour to absorb the liquid.
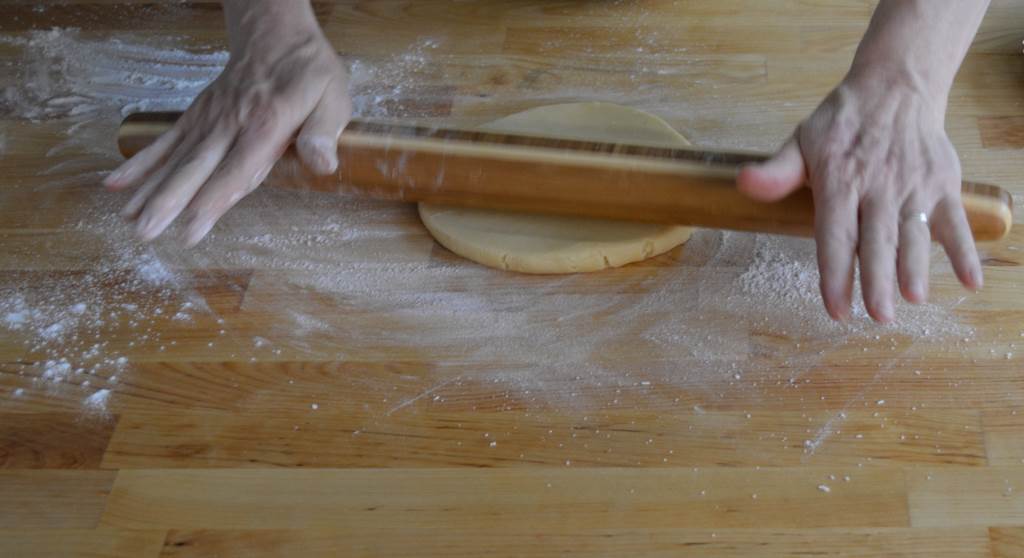 If the dough has gotten too cold to roll out, let it sit on the counter until it is malleable. Place the dough out on a work surface lightly dusted with flour. Start in the middle of the disk and push forward, gently and stopping before you go over the edge of the dough. Lift the dough just a little to move the dough counter clockwise about 1/4 turn. Continue rolling in this manner until the disk is the size that you desire. This will allow you to make sure the dough is not sticking to the board, and as you continue rolling and turning, will make sure that you keep a round shape.
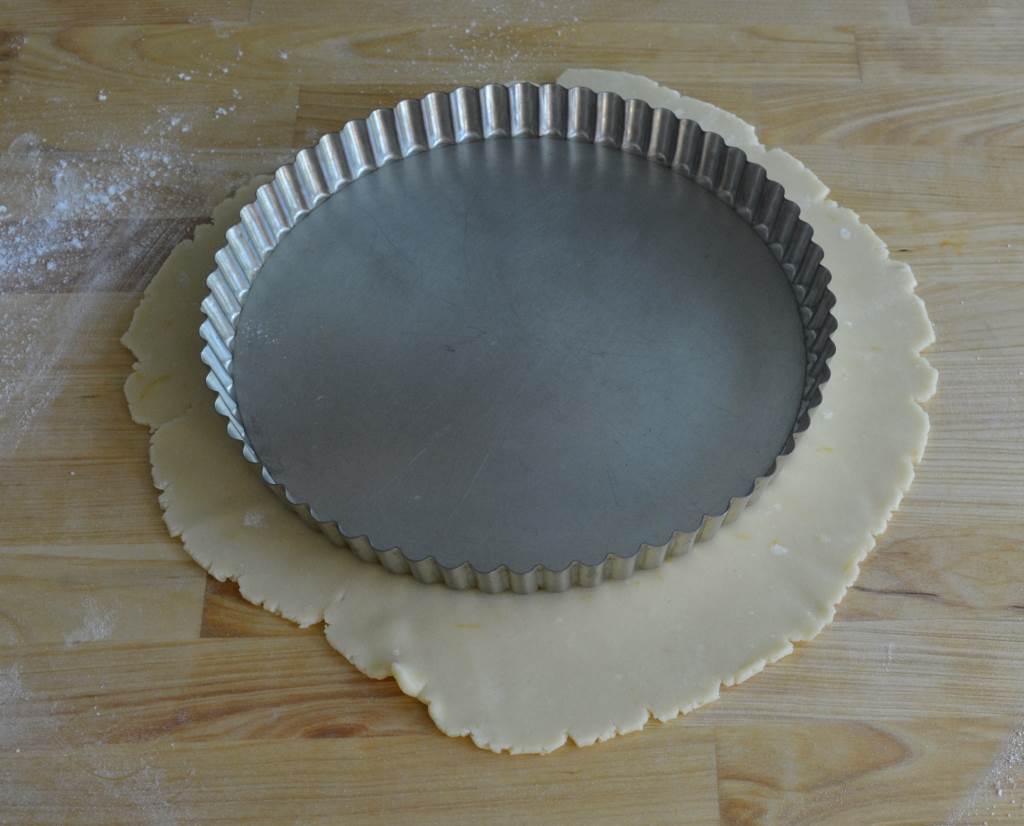 Place your tart pan on top of the dough to see if it is big enough. About 2 inches larger than the diameter of the tart pan.
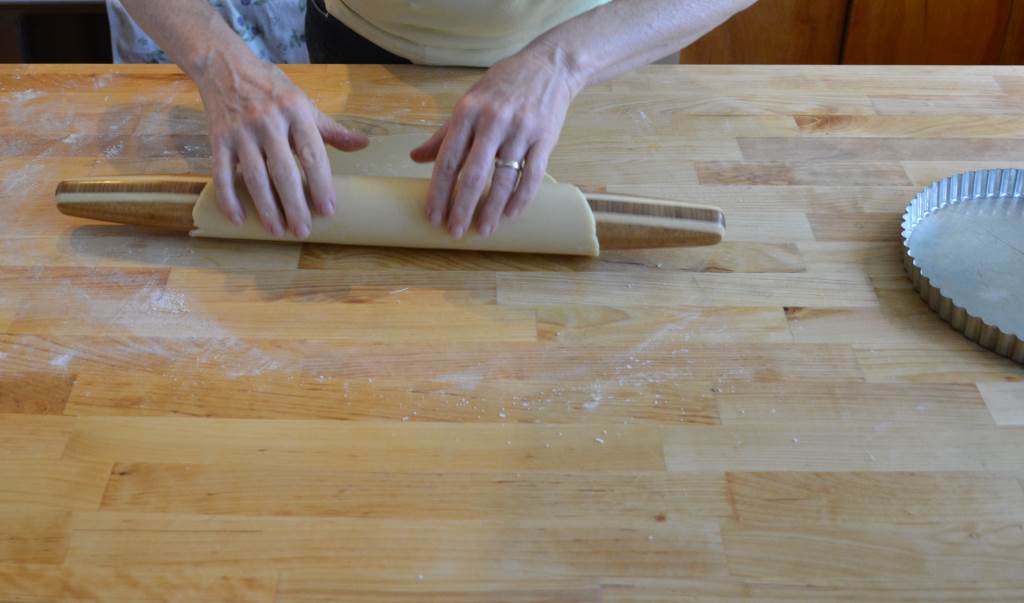 Roll the dough up onto your rolling pin–towards you.
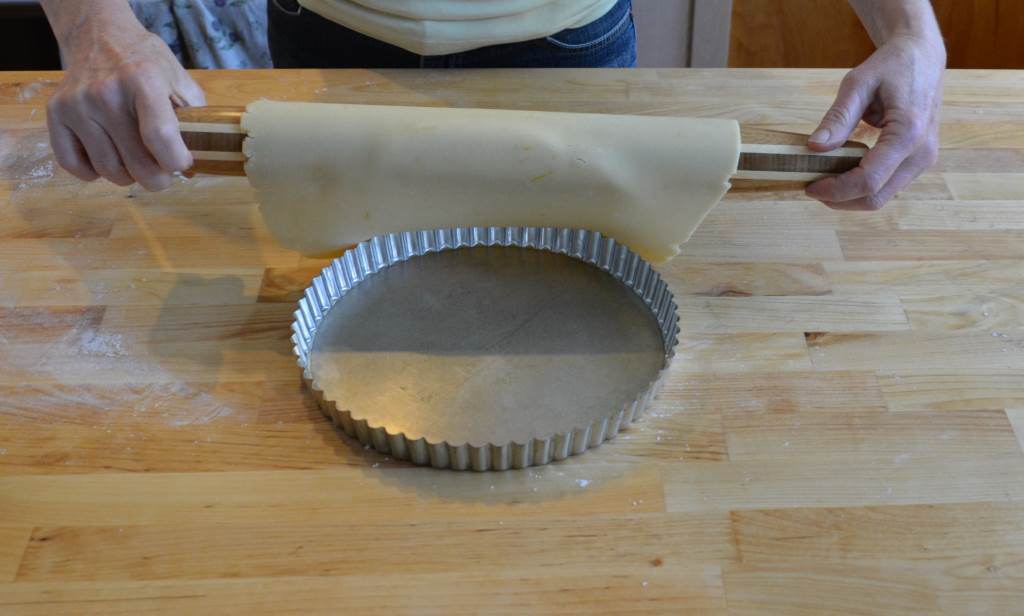 Unroll the dough over the pan–away from you–draping it evenly over the tart pan.
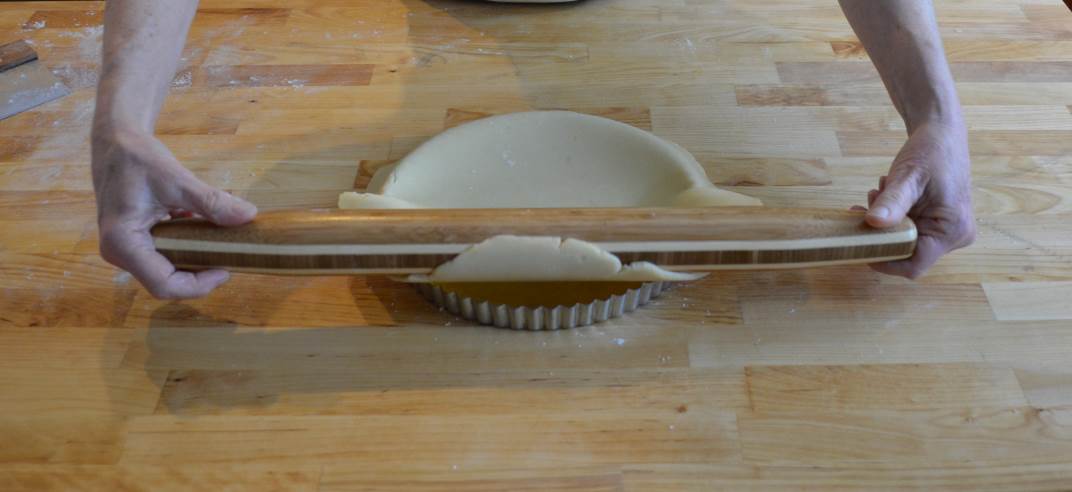 Don’t let the rolling pin touch the sides on the tart pan as that will cut the dough.
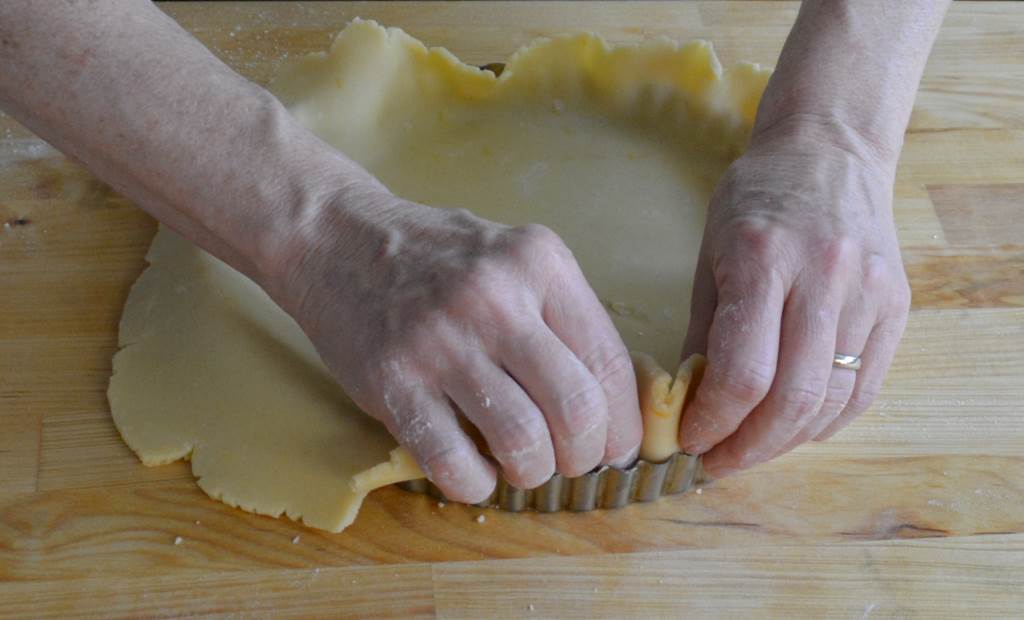 Lift the overhanging dough up with your thumb on one side and fingers on the other, and tuck the dough tightly against the side on the tart pan. Make sure there is no air between the dough and the tart pan as that will cause the dough to shrink down the sides when baking.
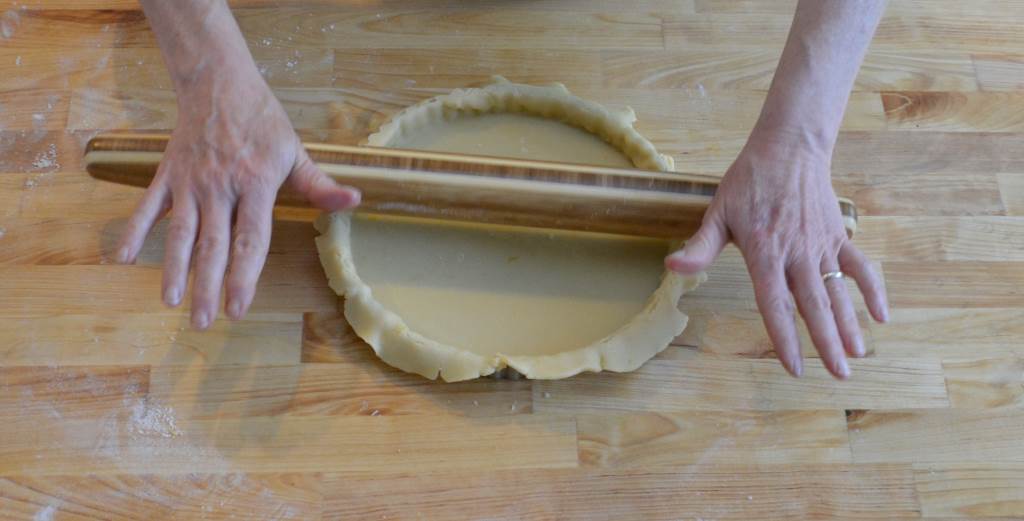 Roll your rolling pin across the top of the tart pan. This cuts off the overhanging dough.
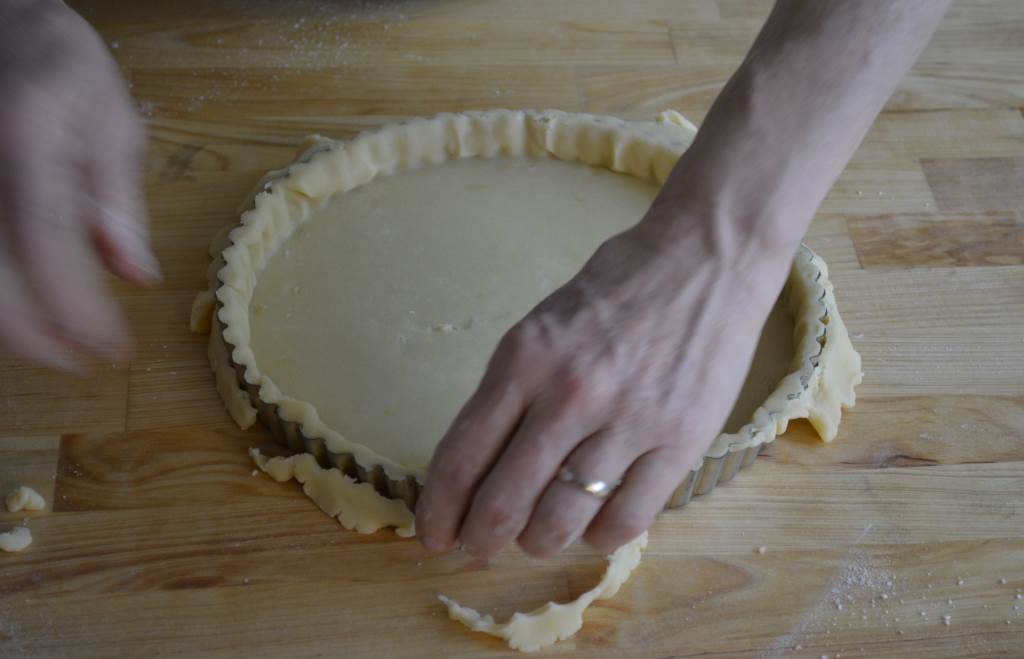 Remove the cut off dough, and gently press the sides of the dough into the side of the pan. It is OK if the dough comes up a bit over the top of the pan.
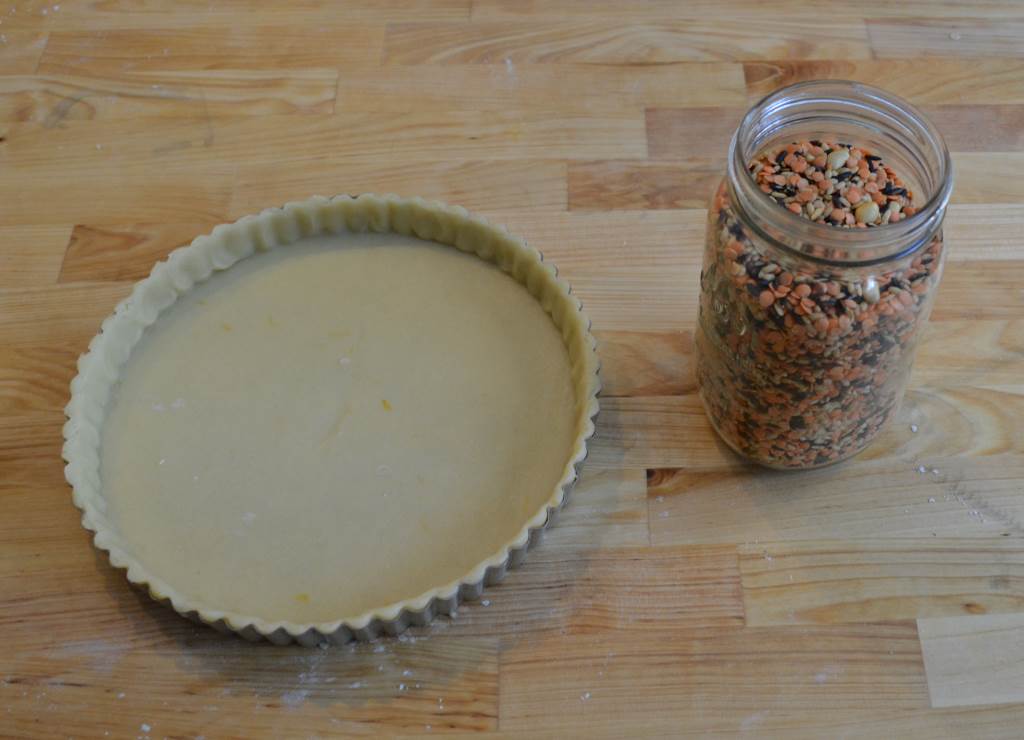 Chill the dough in the refrigerator or freezer for 30 minutes-or until firm.

Place a piece of parchment paper, or foil. into the tart pan and fill the tart shell with rice, lentils, beans or a combination–all the way to the top of pan. This will assure that the dough does not shrink down the sides of the pan. Bake the tart shell until the exposed edges begin to turn golden brown. Gently lift a portion of the parchment to see if the dough on the bottom of the pan has set. It should not look wet or buttery. If it is dry, then you can gently gather the parchment up by the corners, rocking the paper back and forth to make sure it is not sticking, Pour the pie weights (rice, lentils etc.) back into the container in which you store them and discard the parchment. This procedure is called blind baking as you are unable to see what is happening under the pie weights–until you take a peak
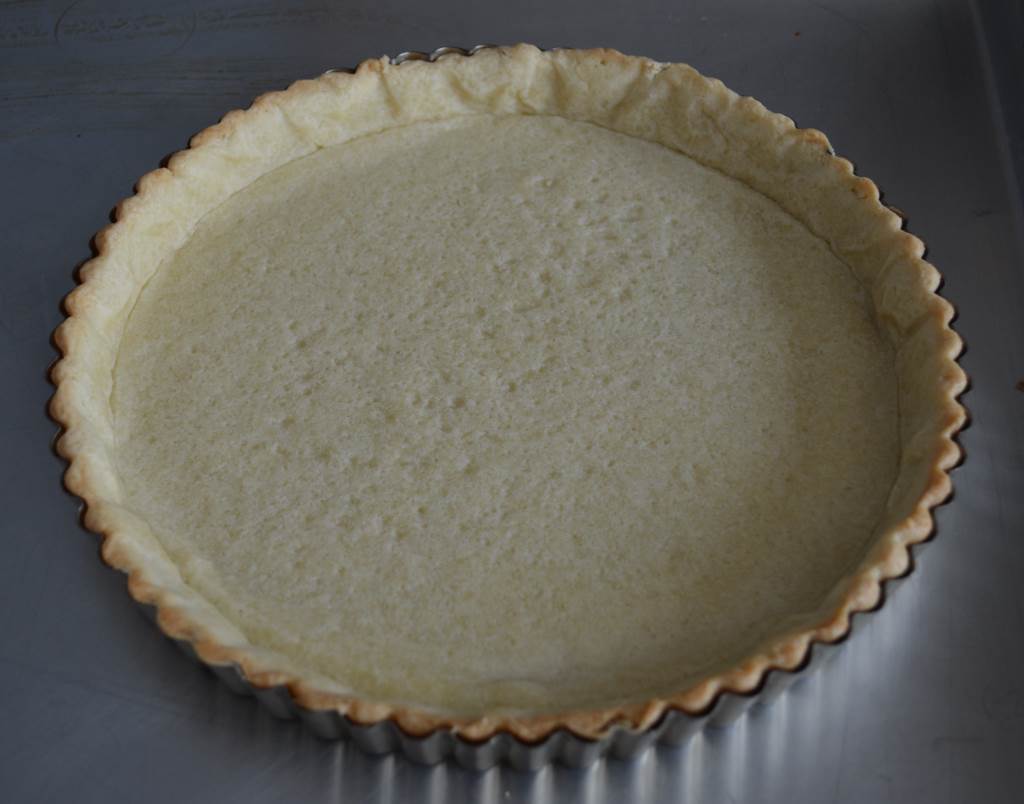 The dough will look pale, but dry. Return to the oven and bake until it is golden brown.
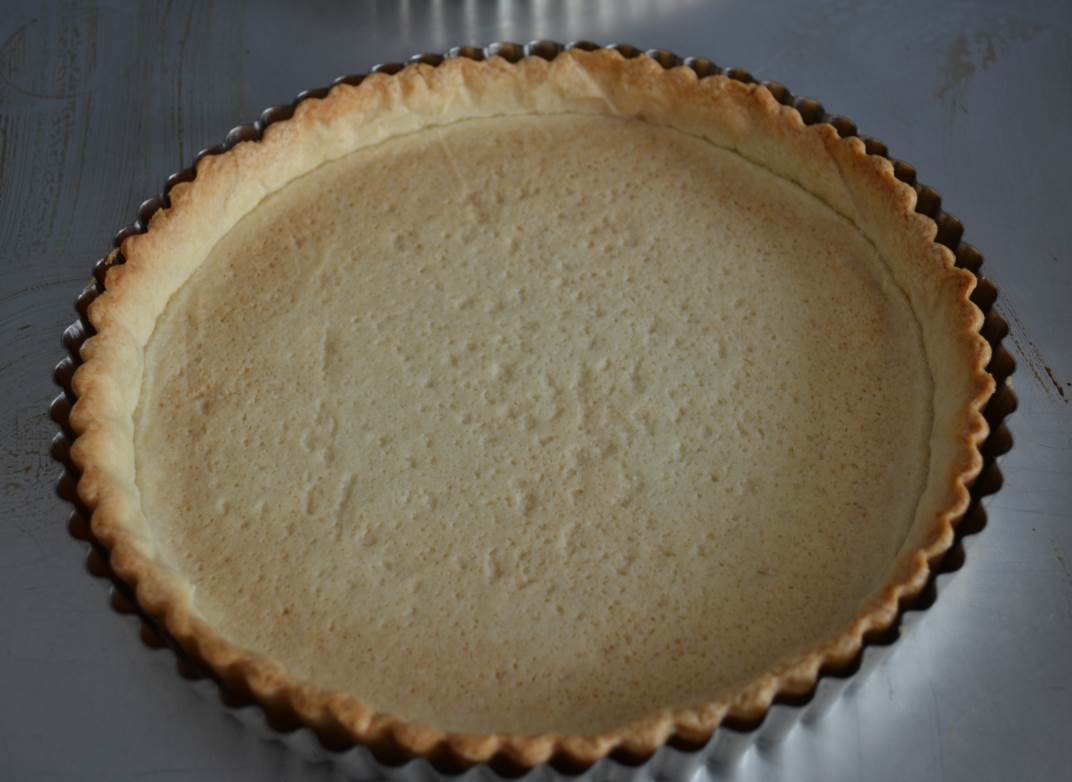
I always fully bake my tart shells–even if a recipe calls for a partially baked shell. Under baked tart shells will remain doughy once the filling goes in, even if they go back into the oven. Doughy equals bland and boring. Golden brown and fully baked equals full flavor and good crisp crust that will hold up to a good juicy filling.
Leave a Reply