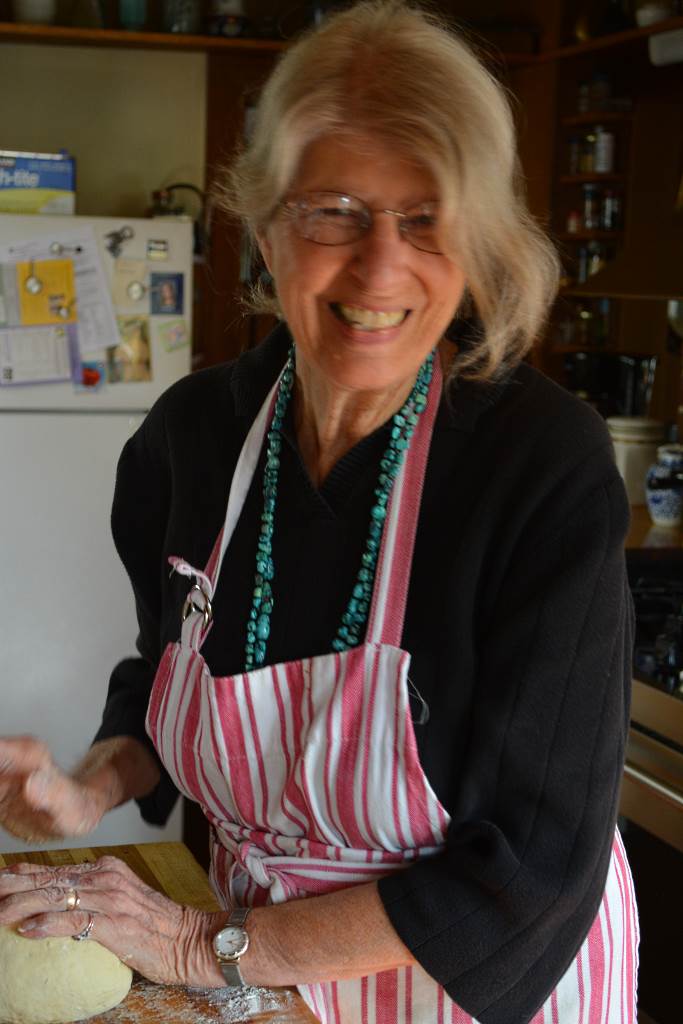
My mom was crowned The Bread Queen by her friends years ago. Everyone knew she made the best bread around. In the 60s and 70s not many people made bread at home, and there weren’t artisan bread shops on every corner as there are now—at least in the S.F. Bay Area. Homemade bread was a real treat. Even though we had it at our house all the time, I was always delighted by the aroma of baking bread, and couldn’t wait for the first slice of warm bread slathered in butter.
My mother makes bread because my grandmother made bread, and I presume that my great grandmother made bread as well. It is a family tradition in its truest form. There is no recipe. Nothing is written down. A good bread baker uses all of her/his senses to make a perfect loaf. The fragrance of the yeast as it proofs, the appearance of the dough as you mix the dry and wet ingredients together, the feel of the dough as you knead it, the response of the dough when it has risen, the sound of the bread when it is fully baked. Some people are natural, intuitive bread bakers, but anyone can learn how. It takes practice, and patience, and most importantly, assurance that you—not the dough—is in control. If the dough starts sticking to your hands, scrape it off, flour your hands, start over again using a light but authoritative touch.
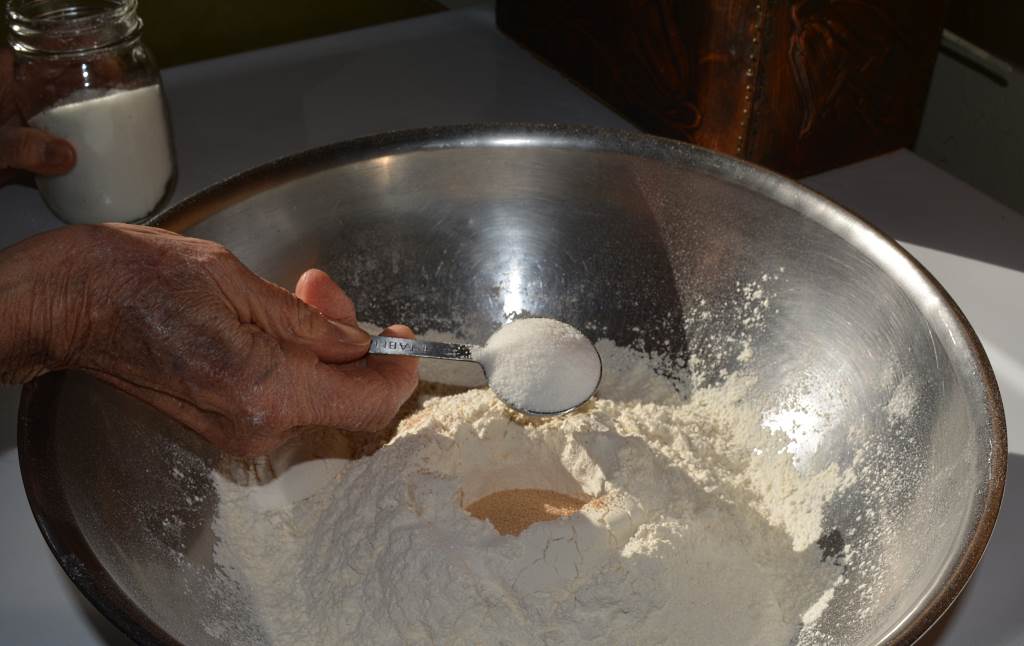 Make a well in the flour. Add 2 tablespoons sugar, then all of the yeast, then the remaining two tablespoons of sugar.
 Pour the 1/4 cup of warm water over the sugar and yeast. I have never seen anyone do this besides my mom. It is a brilliant way to proof yeast without using a separate bowl.
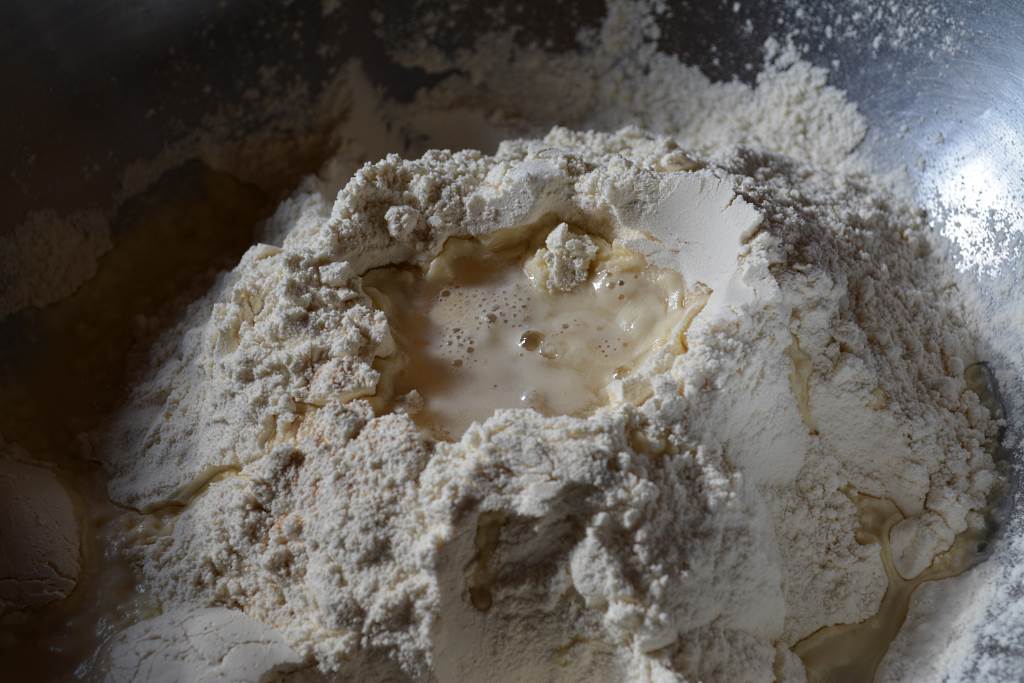 The yeast will start to proof–which means that it is alive and active.
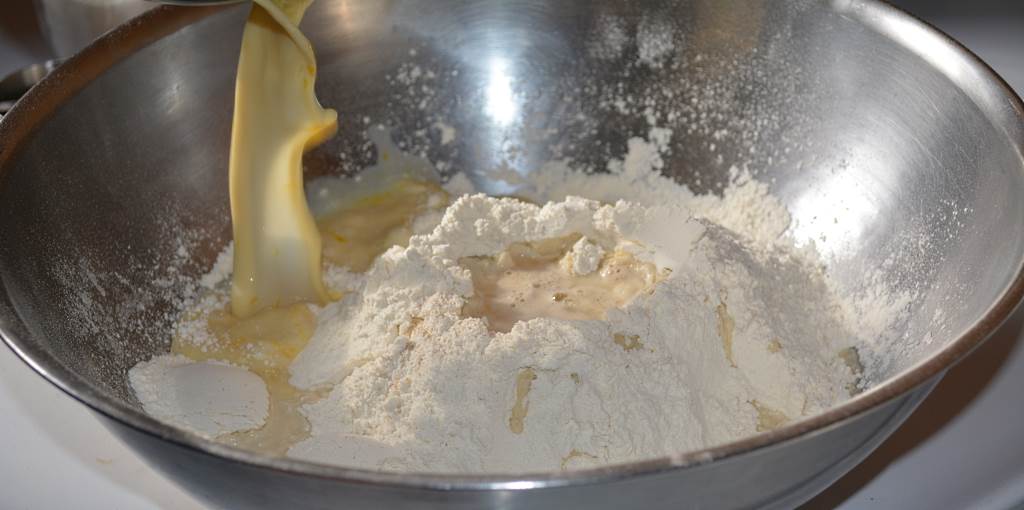 Mix the eggs, milk and butter together and add them to the dry ingredients.
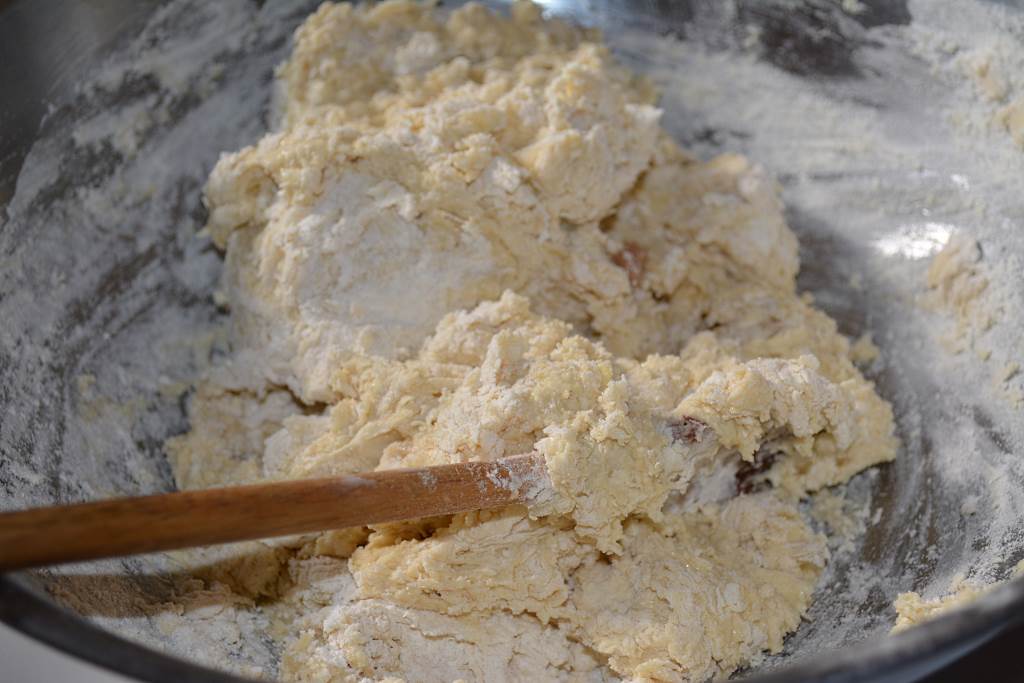 Stir with a wooden spoon until you get a rough shaggy dough.
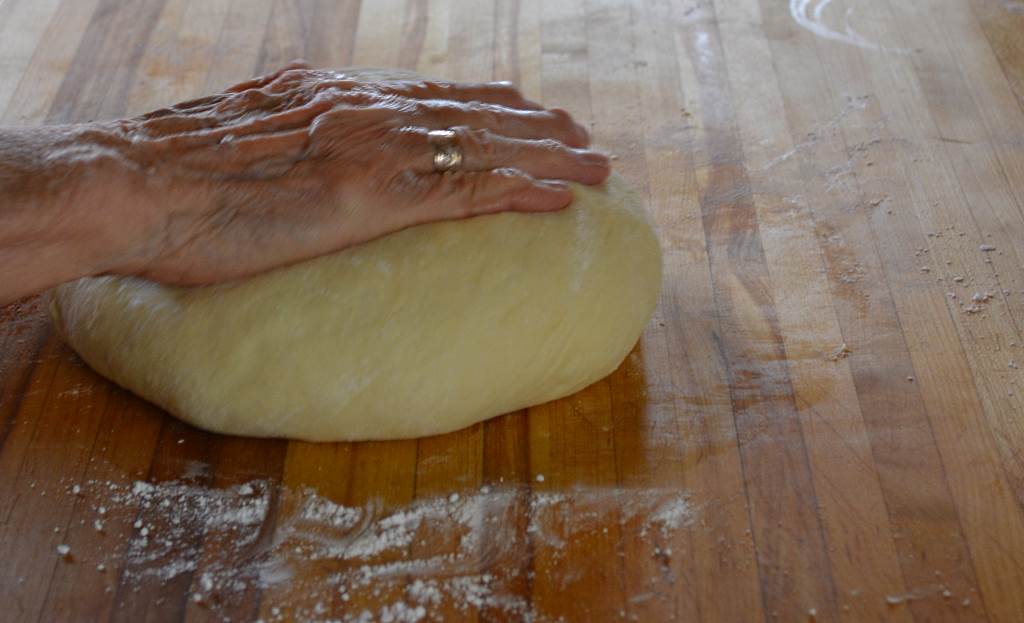
 Lightly dust your work surface and knead the dough.
 100 times!
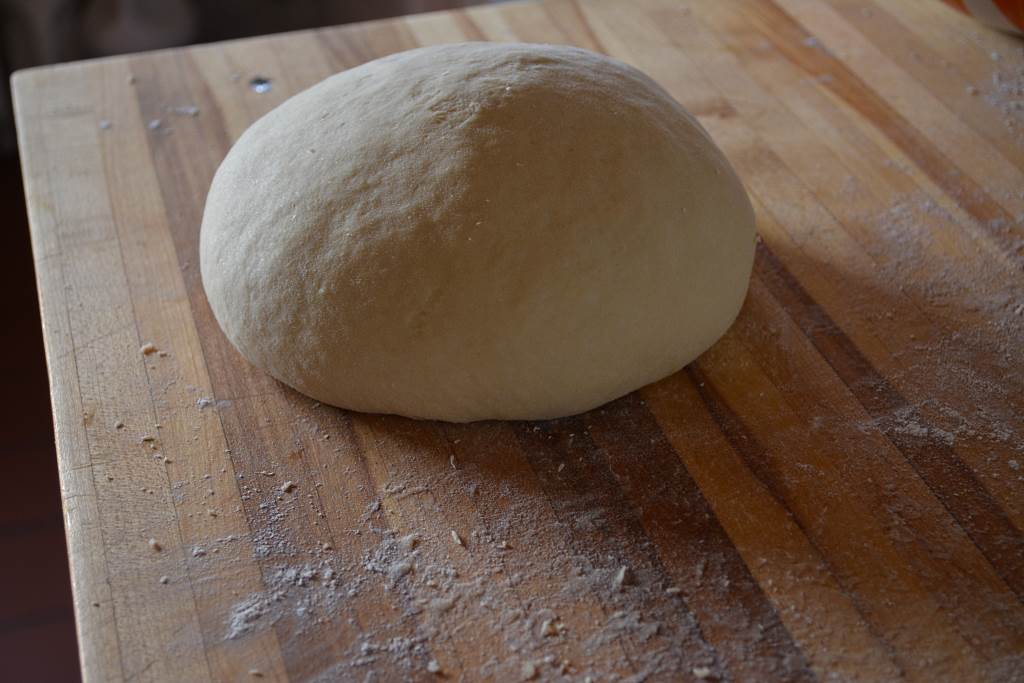 A nice smooth dough means it is ready to be put into a bowl to rise.
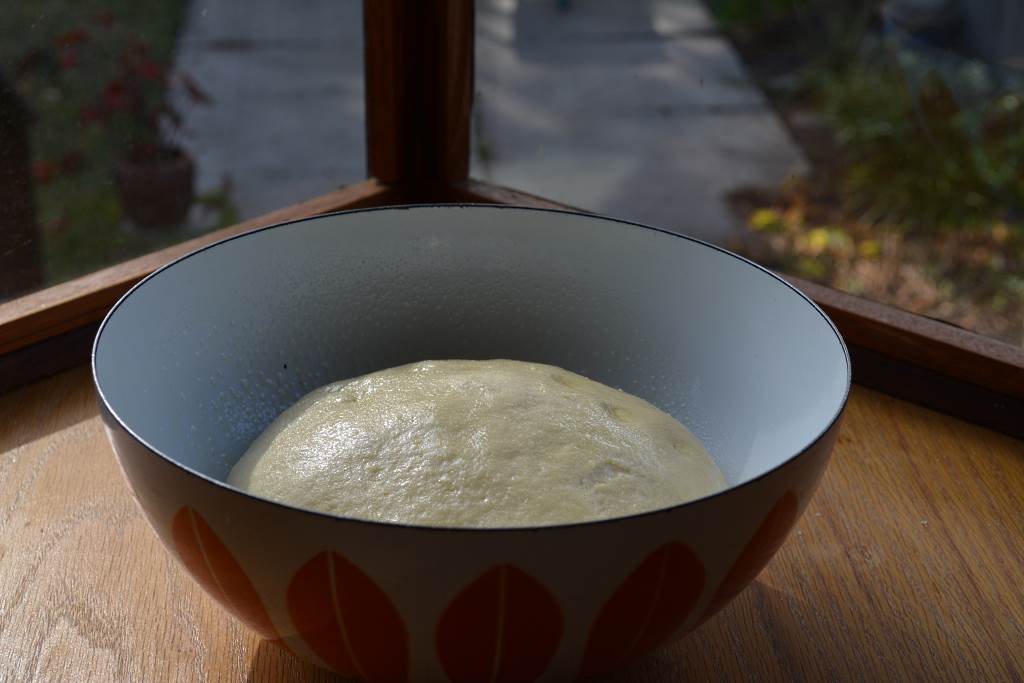 The perfect bread rising window! Oil the bowl. Put the dough into the oiled bowl and turn it upside down so that the dough is oiled all over. Be sure to cover the bowl with a clean dish towel to prevent the dough from forming a crust.
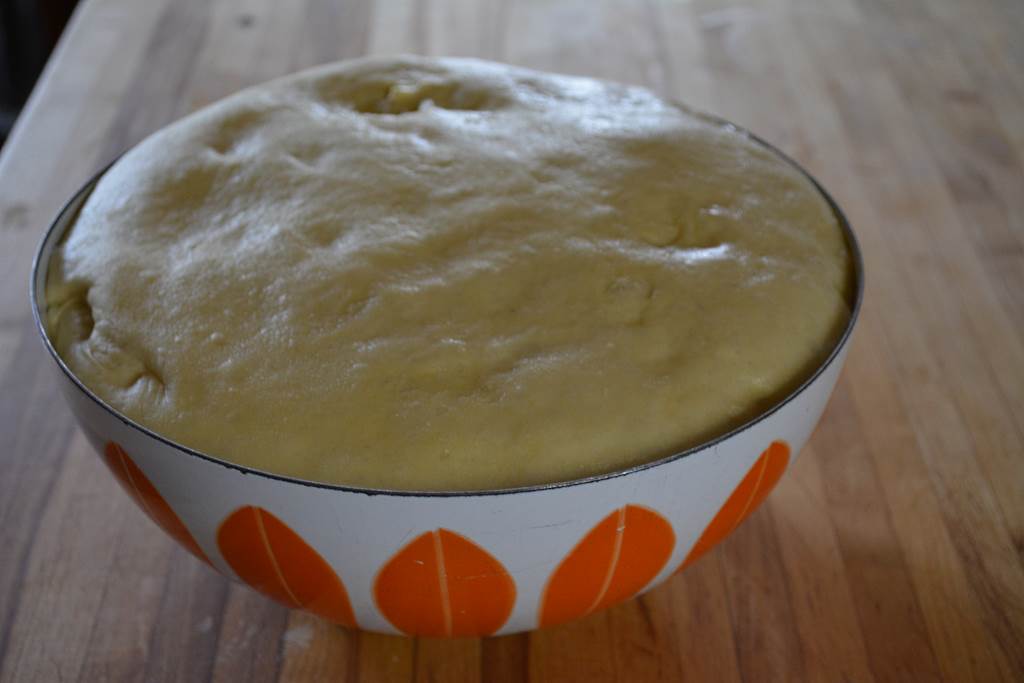 The dough is ready when it has doubled in size.
 Cut the dough in half. Gently deflate the dough and form into two logs.

Oil the pans. Place the logs into the pans and press down to evenly distribute the dough. Cover with a dish towel and let rise until doubled in size.
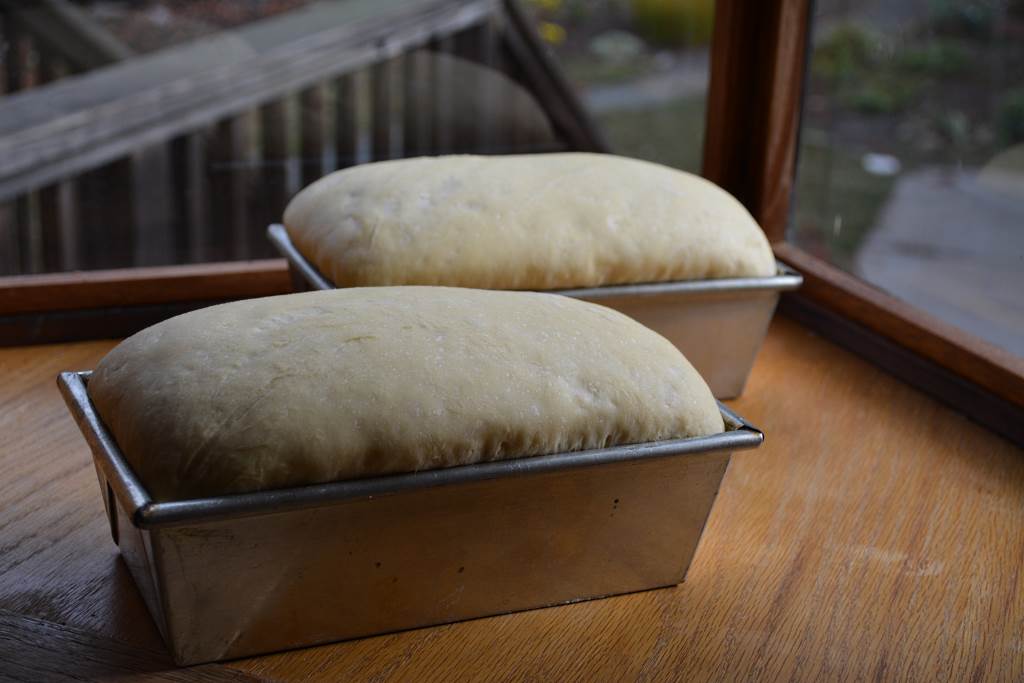
Ready for the oven.

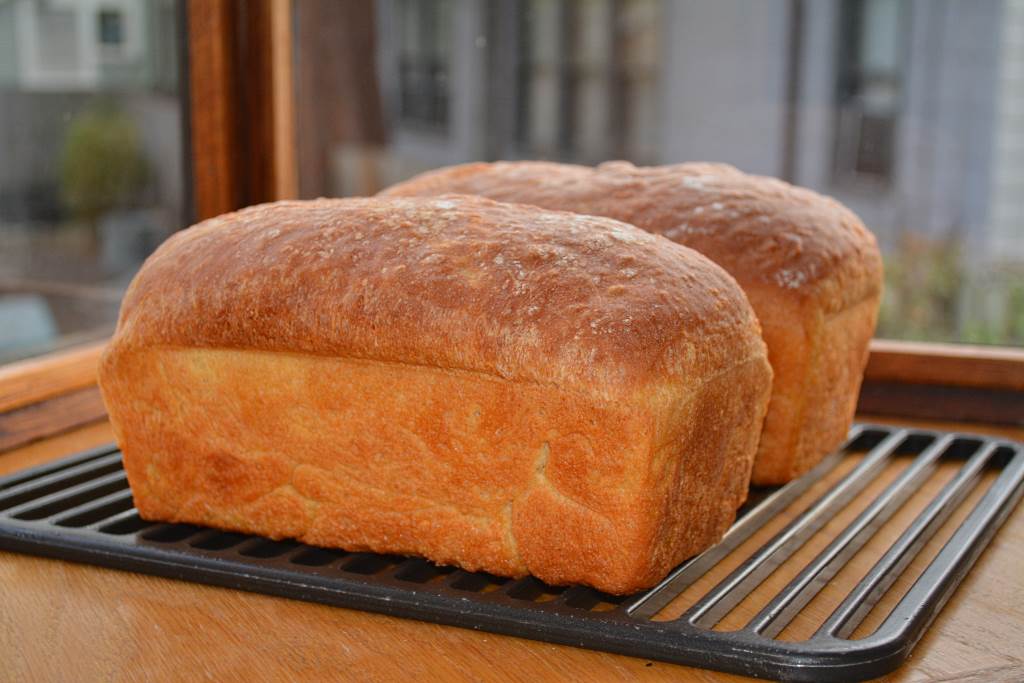
When the loaves are golden brown, remove them from the pan. Are they singing??

See how happy freshly baked bread can make you!
Although there is a recipe included below, it is just a suggestion. This is the recipe my mom wrote down when she made the loaves pictured, but she changes it frequently. More often than not, she uses water and olive oil rather than the milk and butter she used when I was a kid. She also almost always substitutes whole wheat flour for some of the white flour. I hope that when you make your own loaves you will find a dough that makes you happy. Use honey rather than sugar, add poppy seeds, hemp seeds or whatever you have in your cupboard. If the first tries leave you with bread you aren’t pleased with, make breadcrumbs and stick them in the freezer until you need them—they will be much better than the tasteless store-bought kind. The world of bread is not a monarchy. There are plenty of crowns to go around.
Ingredients
- 5 cups unbleached white four
- 1 tablespoon salt
- 4 tablespoons (1/4 cup) sugar
- 2 packages (5 teaspoons) dry active yeast
- ¼ cup warm water
- ¾ cup milk
- ½ cup (4 oz) melted butter
- 4 eggs
Instructions
Put 5 cups flour in a bowl, add 1 tablespoon salt and mix; then make a well in the top of the flour, into which put 2 tablespoons of sugar, then 2 packages (5 teaspoons) of yeast, then 2 more tablespoons of sugar, then pour ¼ cup warm water on top so the well mixture has a head start on hydrating and activating the yeast . Then, while the yeast is foaming (or proofing), mix 3/4 cup milk and ½ cup melted butter with the four eggs, and add them to the bowl with the flour. Mix the mixture with a wooden spoon until a shaggy dough develops. Then turn it out on a lightly floured board, and knead it 100 times. (An aside from my mom: “That last step your grandmother was particular about when she taught your grandfather to make bread--not very long before she died. He said that he wanted a number of kneads, since a person might knead slowly or fast, making the number of minutes too vague.”)
Once the dough is smooth and elastic, oil a bowl, place the dough into the bowl, roll it over so the top becomes the bottom, then cover with a clean dish towel and let rise until doubled—about an hour.
Oil the bread pans. Plop the dough out of the bowl onto a lightly floured work surface. Then cut it into two equal pieces. Deflate the dough by gently pressing the dough into a flattened circle, then fold in the sides, roll into a log, pinch the seam together and put the log, seam side down, into the pan. Repeat with the other half. Cover the two pans with a clean dish towel and let rise again for about an hour or until doubled in size.
Preheat the oven o 375 F. Bake the loaves until they are golden brown. Remove the loaves from their pans. Hold the bottom of a loaf to your ear and listen for any hissing (my mom calls it singing). If it is quiet, it is done. If it is singing, put it back into the oven without the pan, directly onto the oven rack. Bake for another 10 minutes or so. Test again. You can also tap the bottom or top of the loaf and see if it sounds hollow, but that isn’t nearly as fun. When the loaves are done, remove from the oven and cool completely on a wire rack.
Note: That’s what you should do, but I always cut an end off when it is still warm and eat it with a knob of melting butter.
http://madeleineeffect.com/2015/02/moms-bread/
Thank you for this lovely post! I love everything about it! The photos, the writing, the smell of the bread wafting through my computer… I especially love that your mom is featured. <3
Thank you, Julia, for your kind words. Your encouragement and enthusiasm mean the world to me. xx